With all this good weather we've been having, I've spent more time gardening than building the hopper, but now with the change, I've got the side stanchions on.
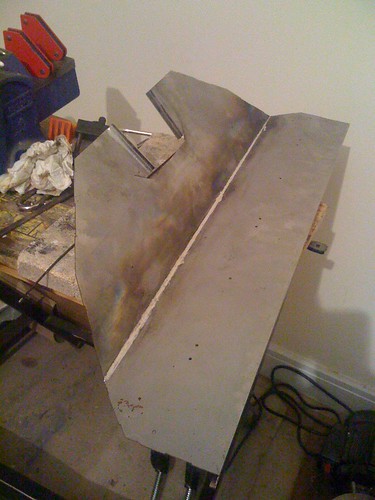
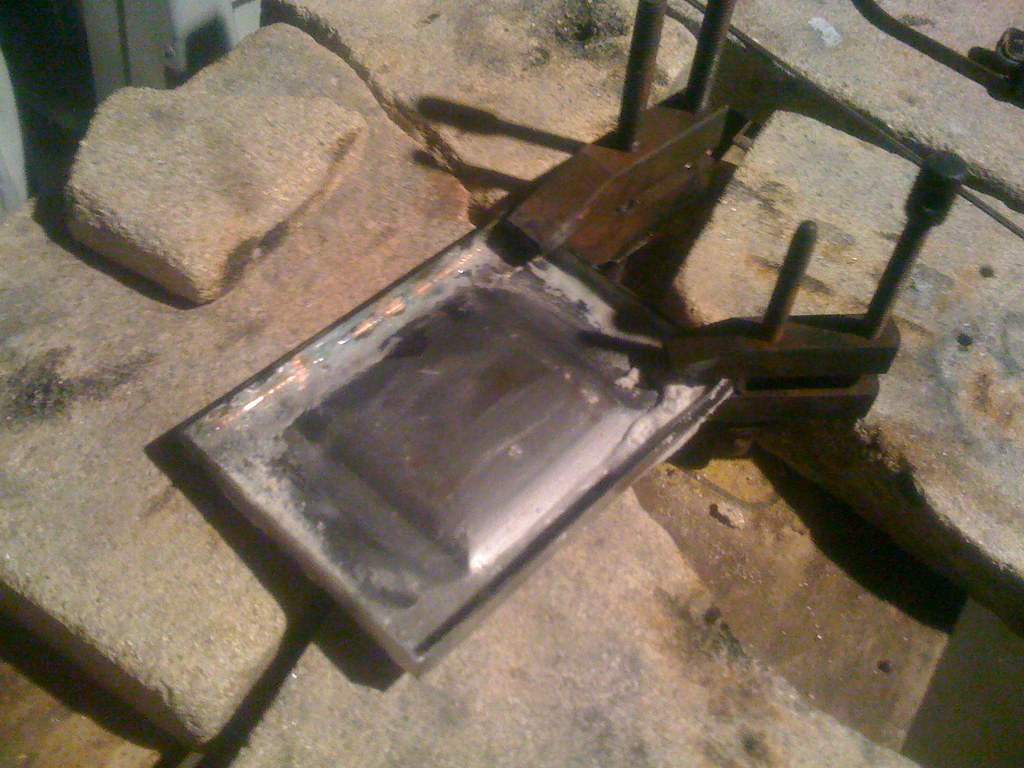
As suspected, reforming the soldering iron tip helped a lot, the soldered joints are generally much neater.
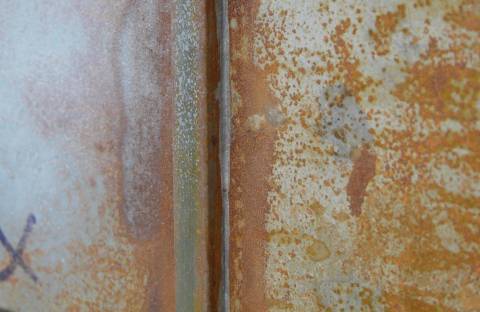
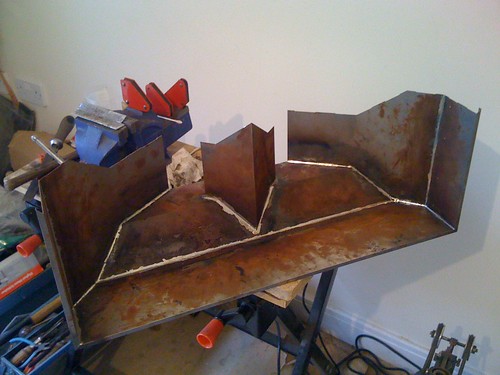
- 21t 2, joint.jpg (24.35 KiB) Viewed 53502 times
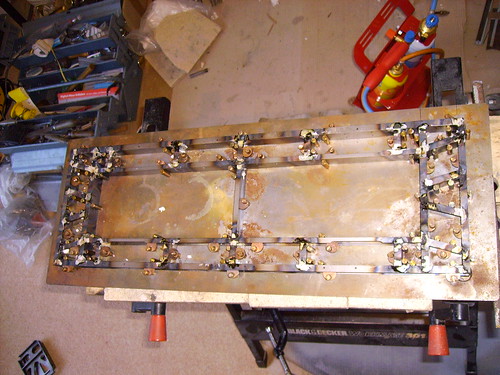
I fitted the stanchions differently from Richard, though not as planned. Richard, I think, silver soldered each of his up as separate assemblies, then soft soldered each in place. I wasn't sure that I could keep them exactly the right shape as separate items, so intended to fix the body and underframe together, then build up each side stanchion in situ. Unfortunately, there just isn't enough room to get a big soldering iron into the small space by the longitudinals. I therefore kept the body removeable, but relocatable using a small block of brass at each end soldered to the end stanchion stay. A 10BA bolt from underneath keeps the parts together and lined up, you can see a block in one of the photos. Each stanchion was tacked in place (using uncored solder on the iron), then the body was removed and the joints fully formed (using cored solder fed into the joints). This worked fine.
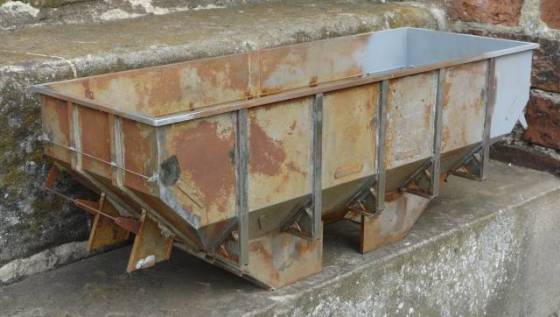
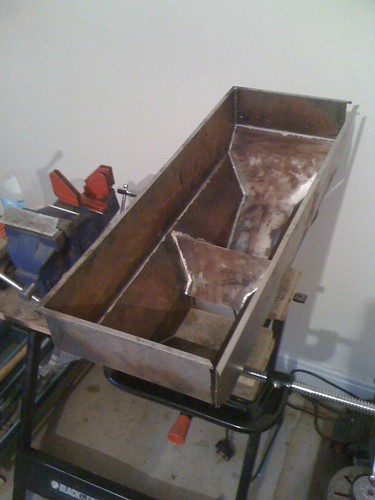
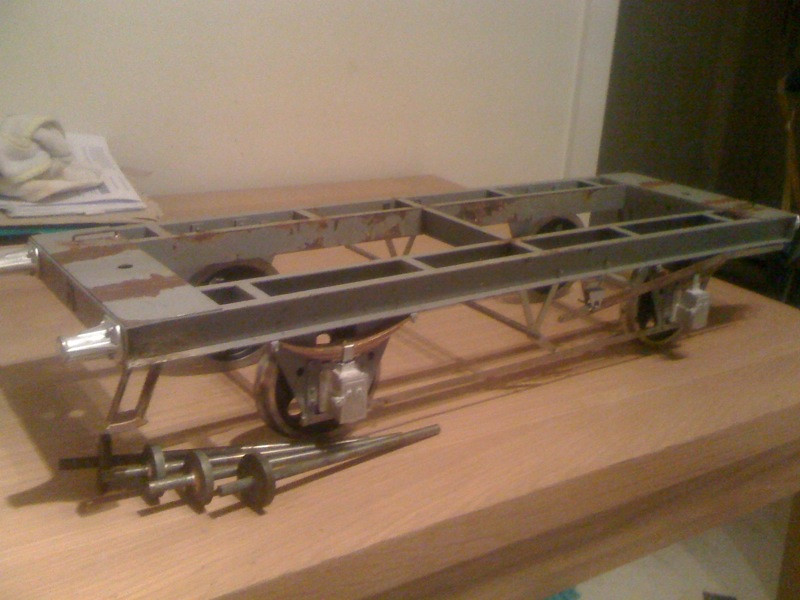
- 21t 2, general view.jpg (29.45 KiB) Viewed 53189 times
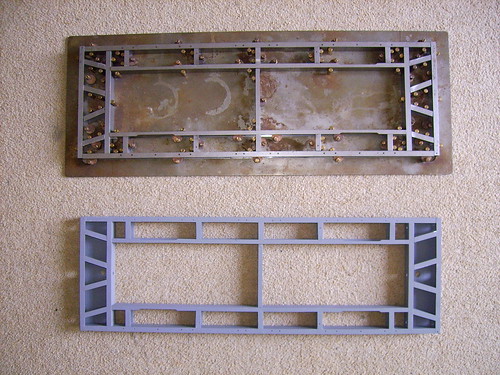
All the stanchions are in place and I think all the soldering on the body is now finished, except for fixing to the underframe of course. Grit blasting is only partly done, but should get finished next week. I pickled the body first to try and get rid of some of the hidden rust and redissolve hidden Bakers Fluid, then after drying, started the grit blasting. Unfortunately, part way through blasting, the outlet hose came off the pot, and as it was next to me, and I was kneeling and only wearing shorts, it deskinned part of my calf, no comments necessary. In the ensuing lunge, I seem to have broken one of the end handrail stays off which makes me think that perhaps they should have an unprototypical bracket on the inside for strength.
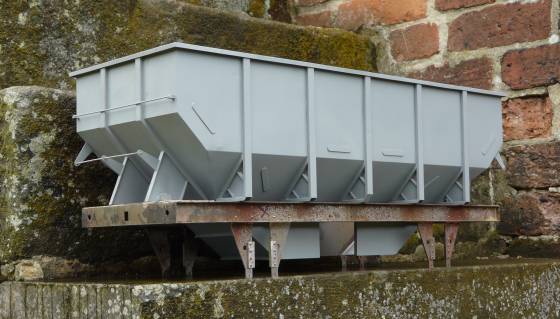
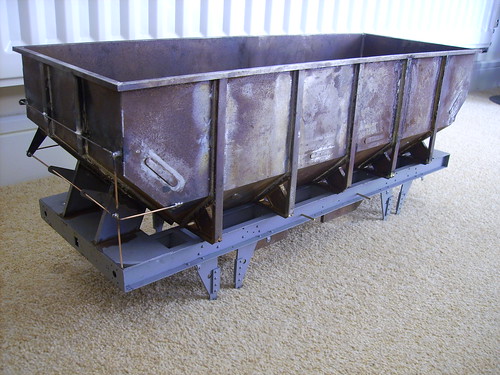
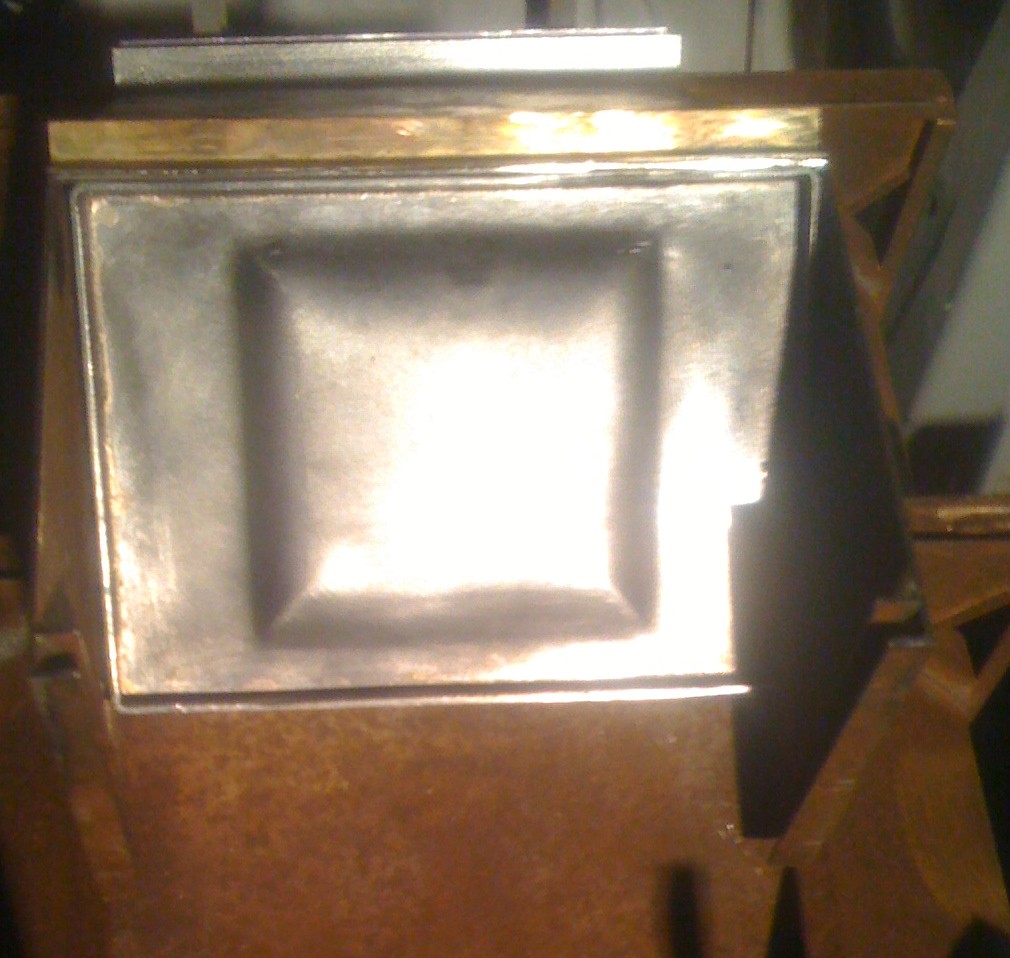
- 21t 2, general view 2.jpg (34.37 KiB) Viewed 53189 times
You seem to have gone for the "sawn off" handrail, a variation I wish I'd though of, it's probably easier.
No, not really, realising that the side bracket for the end handrail would be vulnerable, I only fitted the short rail as a temporary measure to support it, though as I mentioned above, I still broke it off.
It seems you, like me, will have to drill a rivet out of one of the axleguards to get the brack rack support in.
Yes, quite right, I didn't spot that either.
One thought on the material was that tin plate would make soldering a lot easier and neater
Probably so, but it would also result in an unrusty wagon, and I think these wagons should have at least some rust on them.