Page 1 of 1
Workbench: BR Minerals
Posted: Fri Jan 28, 2011 12:41 pm
by Richard Phillips
Re: Workbench: BR Minerals
Posted: Sat Jan 29, 2011 10:56 pm
by Keith1500
Looking good Richard. It seems you have a liking for a bit of tin bashing, what with this wagon and the hopper too.
Please don’t fill it full of granite like the bauxite one at the rally the other year. I am sure my loco coupling got longer that year!
Re: Workbench: BR Minerals
Posted: Wed Feb 02, 2011 11:15 am
by Doug Hewson
Hello Folks,
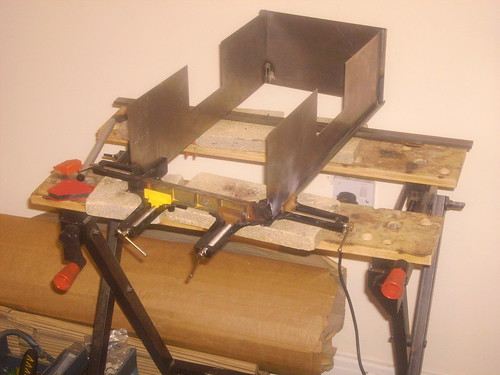
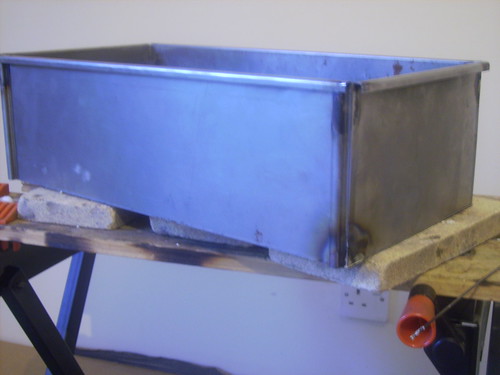
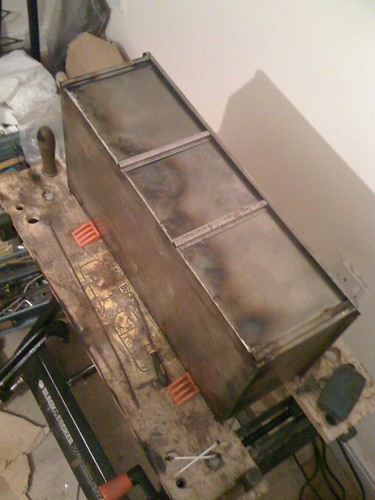
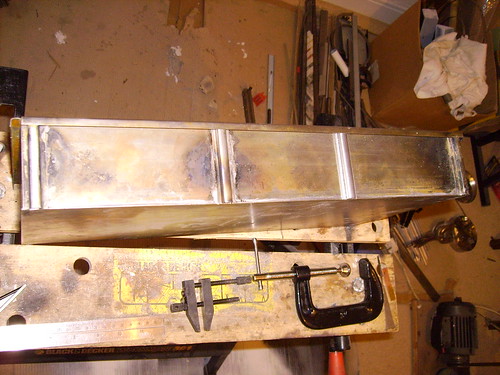
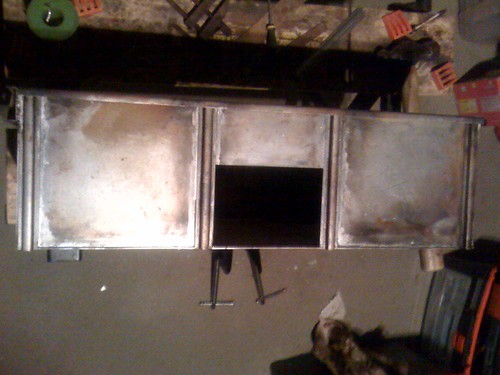
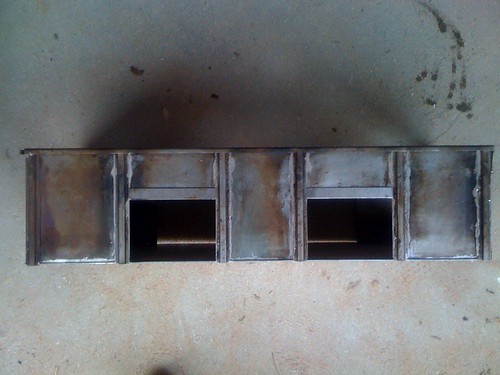
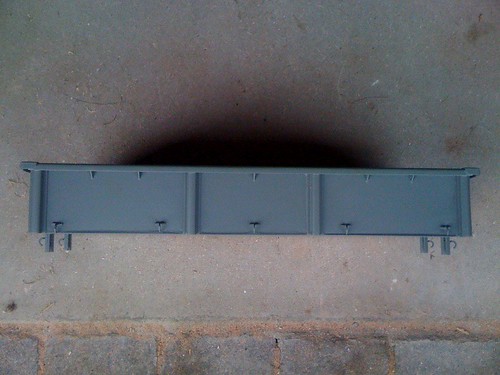
I thought you might likle to see this. Over the past two years the LMS (Lindsey Model Society) have been building the Ex AM tank wagons as a club project. We have now come to the end of that project having built 15 of them so the next project we decided on was to build a batch of BR welded 16 Ton Mineral wagons following the lead from Richard Phillips. I produced a laser cut kit for the job and last Friday I decided to takle our sample kit. I started building it after Friday lunch time and this was the result on Sunday afternoon. At the time we didn't have the side stanchions but they have now arrrived (courtsy of Dave Myers). Unfortunately I drew the end door to the wrong dimensions so I had to reduce the width by 5mm and all that that entails, shortening cross beams and diagonals etc otherwise I would had finished it on Saturday. It actually took two full days work to build the body. It took just over ten minutes to assemble each of the side doors and the top flaps were aboiut the same. If I had drawn it right in the first place I think I could build a body in a day and a half or so.
As with Richard I silver soldered the top corners as far as I could get the silver solder to run easily and then the rest was sweated together with soft solder (plumbers type, unfluxed) and Bakers fluid. I made so some brackets to hold the corners together.
The only problem now is that I haven't a clue how to upload the photos I was going to put with this. Is nothing simple?
Doug Hewson
Re: Workbench: BR Minerals
Posted: Wed Feb 02, 2011 12:24 pm
by Richard Phillips
I can post them up if you want to email them to me. I was going great guns on this until the clock ran out and I had to move house so now I'm trying to think of ways to speed things up again. I need modified hinge as the 7 plank minerals wagons are slightly different. I made my own for my first 16tonner but they're not really suitable for a pattern and I've lost my strip of hinge material I fabricated.
I was thinking of casting my existing door in resin for the 21tonner and 16 tonner (no top doors) and the difference in scale between them was marginal so I modified the top girder so they both used the same size door. If you have a pattern for the door I'd be interested in two sets, but mine were made for the original design width as published in EIM by yourself way back - and issues that were given to me that got me into wagon building!
My (formally local) punching firm never made any progress with my chassis drawings so if you have kits I'd be interested too, I was thinking of drawing up the solebar rib supports for slot-and-tab - but again, if you've already done this... I'll need a slightly different number for the 21 ton mineral, but I imagine it would be possible to make a slot and tab to incorporate the door hinge angle in one peice
Re: Workbench: BR Minerals
Posted: Wed Feb 02, 2011 12:29 pm
by Richard Phillips
Doug Hewson wrote:
As with Richard I silver soldered the top corners as far as I could get the silver solder to run easily and then the rest was sweated together with soft solder (plumbers type, unfluxed) and Bakers fluid. I made so some brackets to hold the corners together.
The only problem now is that I haven't a clue how to upload the photos I was going to put with this. Is nothing simple?
Doug Hewson
The main reason for only tacking the corners was the way the steel bends under heat, like a great big bi-metalic strip we used to see demonstrated in physics class! That's one of the reasons for attaching the rib at the same time, clamping it up helped brace it up with a strong bar clamped on the other side. I wish vacuum brazing was an option available to me (assuming it would work)!
The image upload is a bit picky over size so you have to crop them down a bit. I normally bung the imagines on in internet sharing site and then link to them.
Re: Workbench: BR Minerals
Posted: Thu Feb 03, 2011 11:17 am
by Richard Phillips
Added some images from Doug, resized to under 200KiB and at 480x360 max, I just converted them using a linux convert command in a loop
Code: Select all
for i in *; do j=`basename $i .JPG`; convert -resize 480 $i ${j}-resize.JPG; done
There's probably better ways to do that...
It's only allowing me to add 3 attachments at a time...
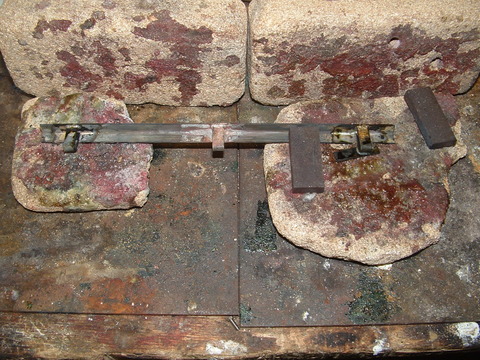
- End_Door_Hinges_01-resize.JPG (102.39 KiB) Viewed 264984 times
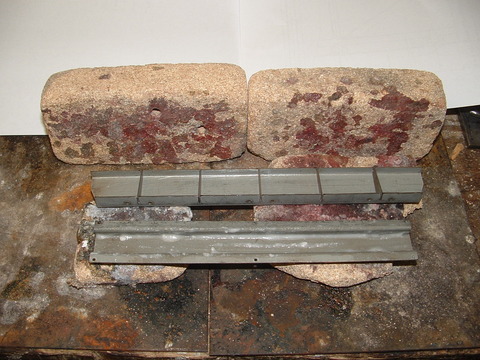
- End_Door_Beams_01-resize.JPG (79.53 KiB) Viewed 264984 times
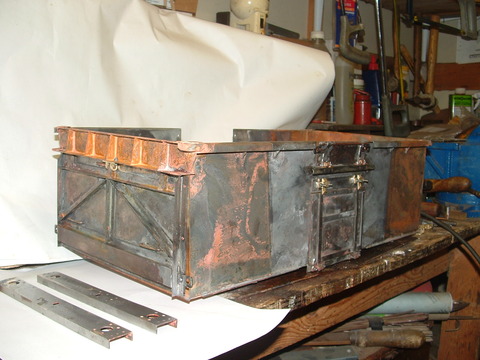
- End door
- End_Door_Complete_01-resize.JPG (67.45 KiB) Viewed 264984 times
Re: Workbench: BR Minerals
Posted: Thu Feb 03, 2011 11:19 am
by Richard Phillips
Re: Workbench: BR Minerals
Posted: Thu Feb 03, 2011 11:22 am
by Richard Phillips
Re: Workbench: BR Minerals
Posted: Thu Feb 03, 2011 10:41 pm
by Keith1500
Some very interesting photos being produced between you two on the building of these minerals.
I have never tried brazing to that extent. Are you experiencing any issues with heat and expansion etc. I know that Richard mentions the bimetallic strip effect what are your techniques for keeping it all under control?
Most intrigued by the top flap above the door. What was its purpose?
Re: Workbench: BR Minerals
Posted: Fri Feb 04, 2011 10:14 am
by Richard Phillips
Keith1500 wrote:Some very interesting photos being produced between you two on the building of these minerals.
I have never tried brazing to that extent. Are you experiencing any issues with heat and expansion etc. I know that Richard mentions the bimetallic strip effect what are your techniques for keeping it all under control?
Most intrigued by the top flap above the door. What was its purpose?
For me expansion was a problem because I can't heat the whole thing to red heat consistently. The steel sheet sides just start to bow and bend as the hot area expands. The corners can be tacked because they have a fold to hold them rigid and you can get in there and tack them without too much distortion.
The girder stay over the door stays firm and once the baseplate is on you can soft solder round the edges and it starts to get a bit more rigid. I silver solder on the corner ribs with a bar clamped on the other side to brace it all up, some heat reflective mat keeps me from heating the whole area and keeps the distortion down.
Re: the top flap doors, have a read of
viewtopic.php?f=3&t=89 again!

Re: Workbench: BR Minerals
Posted: Fri Feb 04, 2011 7:23 pm
by Doug Hewson
Hello Keith,
The whole lot is slotted and tabbed together and the tabs go through the floor by about 1.5mm and they can be twisted the other side to hold everything solidly whilst soldering. did what Richard I did and silver soldered the corers from the top down as far as the heat would run and then soft soldered the rest. The side stanchions arrived yesterday so they are all on now and the min body is now complete with side and end doors. I used plumbers solder, the proper stuff and not the silly plastic stuff that the EU want us to use as I bought a lifetimes supply just in case.
I just need to make some kind of fixture to hold the open end square whilst soldering as my end door would not fit quite properly as the body was slightly out of square. I gave it a little re-heat and fettled it with a large leather mallet so the door fits perfectly now. It only has about 10 thou clearance all round so it has to be dead right.
I haven't seen a proper explanation for the existende of the top flap but our coal man says that they used to drop the top flap to shovel what they could out from the top and until they could get the side door open. The side door was then propped on a timber post so that it was level as it made a good platform for weighing coal into bags.
Doug Hewson
End doors
Posted: Wed Feb 16, 2011 11:00 am
by Richard Phillips
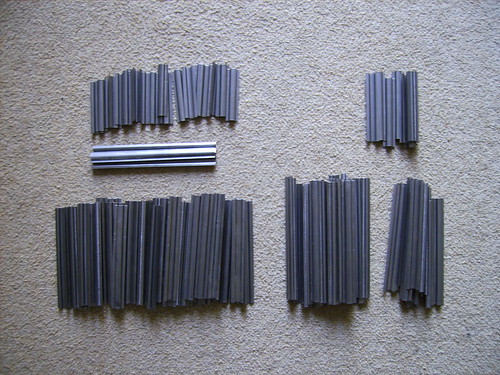
Doug has chosen to get the angles for the end doors laser cut and then fold those, whereas I decided I'd done enough folding and chose to clip my corners manually, but have the folding and sheering done. Previously I had produced the section by milling four angles from seam welded 1mm square tube (available from chain DIY stores)
The main driver for this decision is the difficulty of getting "non-standard" right angle section, and the 20SWG angle this door calls for is not available anywhere as far as I can see. When my local metal firm said they could fold it up I was interested and decided to go for it.
The following pictures show the angles as produced.
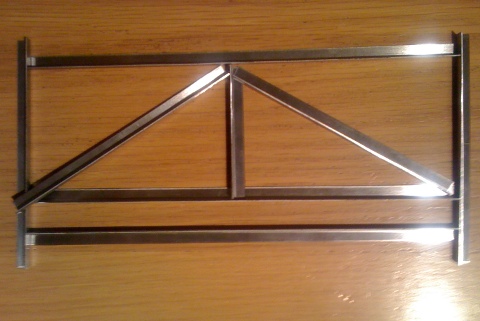
- Door angles
- IMG_1188.JPG (59.82 KiB) Viewed 264920 times
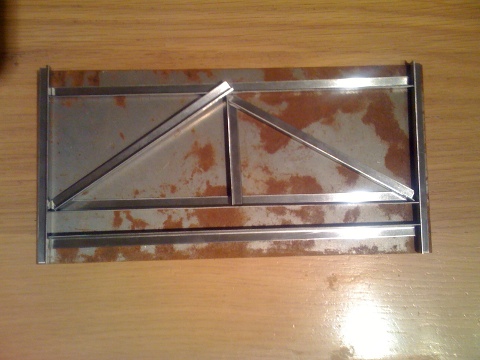
- Door angles on plate
- IMG_1189.JPG (70.24 KiB) Viewed 264920 times
Re: Workbench: BR Minerals
Posted: Wed Apr 27, 2011 11:18 am
by Richard Phillips
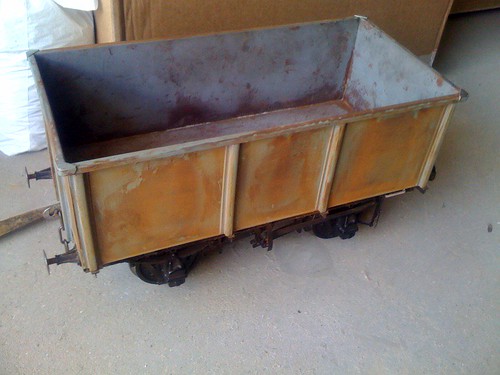
Added the transfers from Dave, which need weathering down a little to match the rusty tippler body
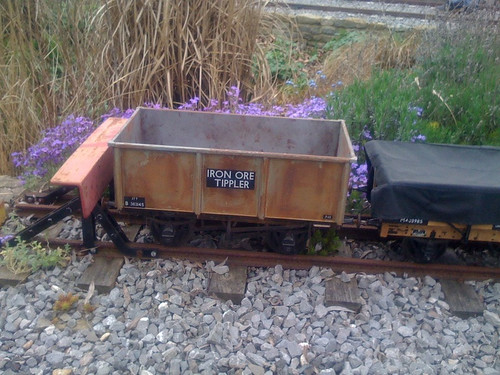
Re: Workbench: BR Minerals
Posted: Mon Apr 16, 2012 5:48 pm
by Richard Phillips
A bit more progress on the 16 tonner so I have something new to take to Gilling (hopefully) and join all those new 16 tonners for a proper "windcutter" rake.
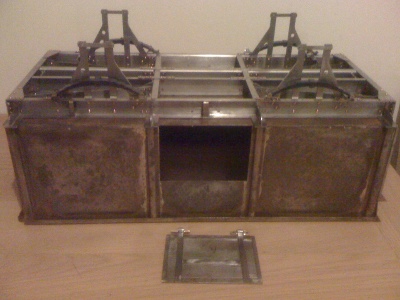
- d102undersm.JPG (51.15 KiB) Viewed 262976 times
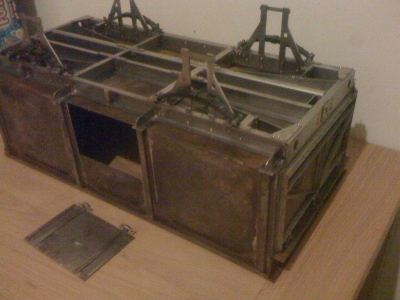
- d102under2sm.JPG (53.79 KiB) Viewed 262976 times
Re: Workbench: BR Minerals
Posted: Tue Apr 24, 2012 4:35 pm
by Richard Phillips
I don't know if this is any kind of "new" idea, but it's funny how you stumble across these things.
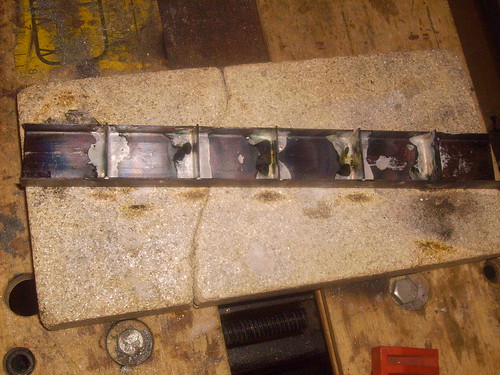
Since I decided to go for a Diagram 1/102 with bottom doors, it essentially means no d108 style corner bracing, so I now have to solder in a corner piece. But how to hold it whilst I solder it in?
The last welding magnet I used in this way, in part, melted, so I need something a little more... disposable.
The answer was sat right in front of me. In the past I'd de-assembled a number of small hard disks and recovered bearings, screw etc, and some quite powerful magnets. They were stuck to a tin, waiting for a use, and here it was..
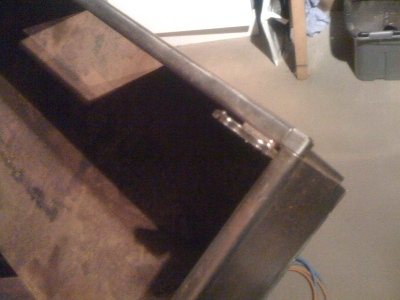
- Mineral wagon corner insert with magnet
- d102corner1.JPG (48.9 KiB) Viewed 262910 times
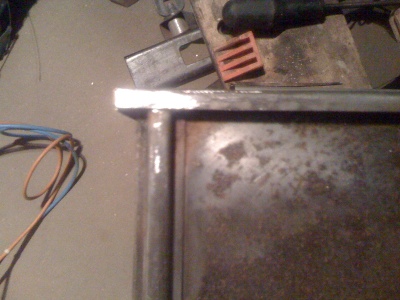
- mineral wagon corner after silver soldering
- d102corner2.JPG (54.18 KiB) Viewed 262910 times
Not pretty I admit, and anyone who has heated a magnet knows what happens to it's magnetism. I ended up (not in this case but others) heating the part until glued by dried flux and then removed the magnet so it could be used again, a bit risky, but I got away with it, and the magnets are almost disposable.
Re: Workbench: BR Minerals
Posted: Sat May 12, 2012 7:17 pm
by Richard Phillips
Nearly there, might be ready for the Gilling Rally
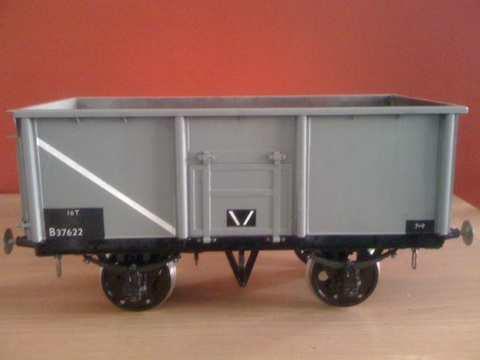
- Transfers added, no brake gear
- d102wtransfers.jpg (45.64 KiB) Viewed 257523 times
Re: Workbench: BR Minerals
Posted: Wed Aug 15, 2012 9:48 am
by Richard Phillips
It's going to be a stretch to get this ready for Gilling, let alone for the Bristol ME Exhibition we're setting up tomorrow!
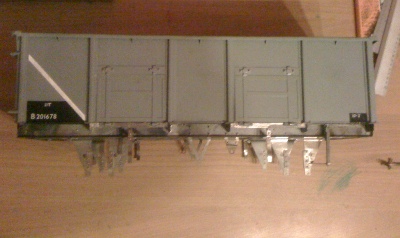
- 21 ton mineral wagon body after lettering
- 21tonmin1sm.JPG (40.85 KiB) Viewed 257494 times
Re: Workbench: BR Minerals
Posted: Wed Aug 15, 2012 6:59 pm
by Mike Solloway
Who needs sleep, got all night yet

Re: Workbench: BR Minerals
Posted: Fri Aug 17, 2012 3:24 pm
by Richard Phillips
Just about got it on it's wheels - needs a lot of workt though
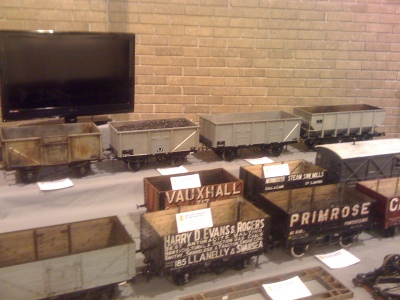
- GL5 stand initial setup BSMEE exhibition 2012
- gl5stand2012-sm.JPG (61.4 KiB) Viewed 257476 times
Re: Workbench: BR Minerals
Posted: Thu Oct 04, 2012 8:04 pm
by Keith1500
I have came across this picture which I though might inspire you mineral boys...

