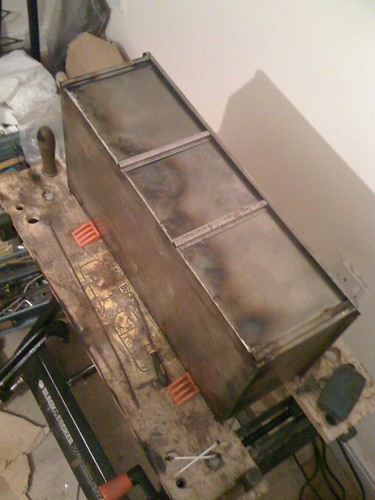
Anyway, here is about as far as I got with it
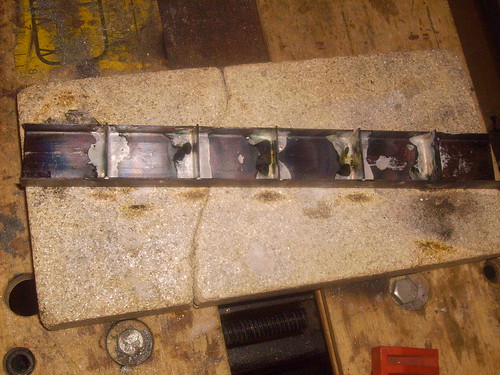
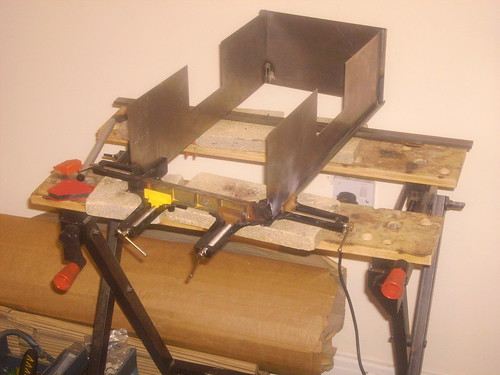
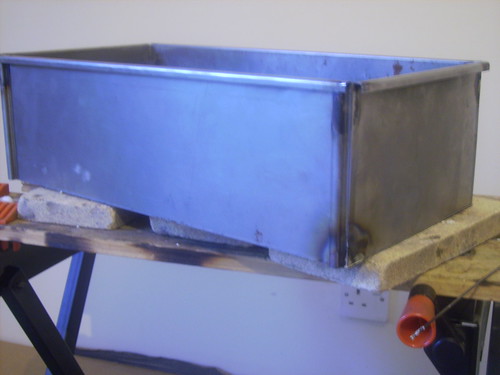
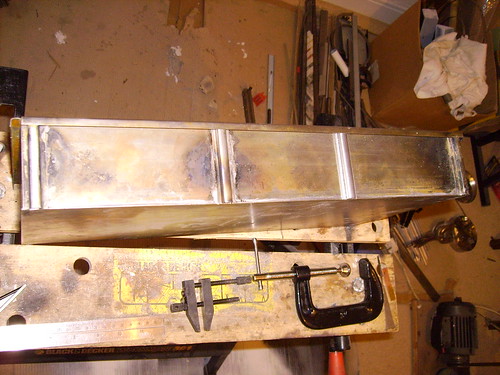
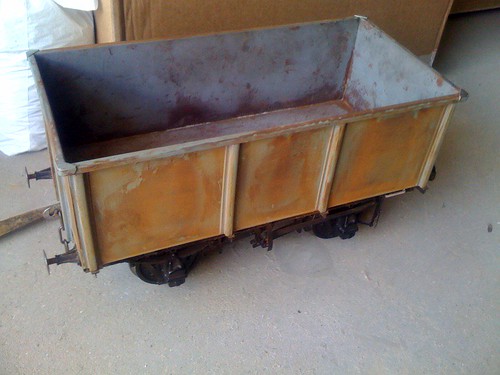
The main reason for only tacking the corners was the way the steel bends under heat, like a great big bi-metalic strip we used to see demonstrated in physics class! That's one of the reasons for attaching the rib at the same time, clamping it up helped brace it up with a strong bar clamped on the other side. I wish vacuum brazing was an option available to me (assuming it would work)!Doug Hewson wrote:
As with Richard I silver soldered the top corners as far as I could get the silver solder to run easily and then the rest was sweated together with soft solder (plumbers type, unfluxed) and Bakers fluid. I made so some brackets to hold the corners together.
The only problem now is that I haven't a clue how to upload the photos I was going to put with this. Is nothing simple?
Doug Hewson
Code: Select all
for i in *; do j=`basename $i .JPG`; convert -resize 480 $i ${j}-resize.JPG; doneFor me expansion was a problem because I can't heat the whole thing to red heat consistently. The steel sheet sides just start to bow and bend as the hot area expands. The corners can be tacked because they have a fold to hold them rigid and you can get in there and tack them without too much distortion.Keith1500 wrote:Some very interesting photos being produced between you two on the building of these minerals.
I have never tried brazing to that extent. Are you experiencing any issues with heat and expansion etc. I know that Richard mentions the bimetallic strip effect what are your techniques for keeping it all under control?
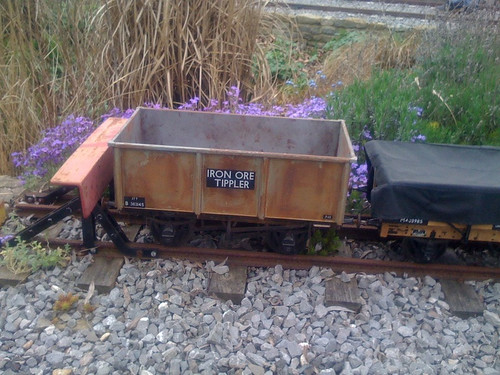
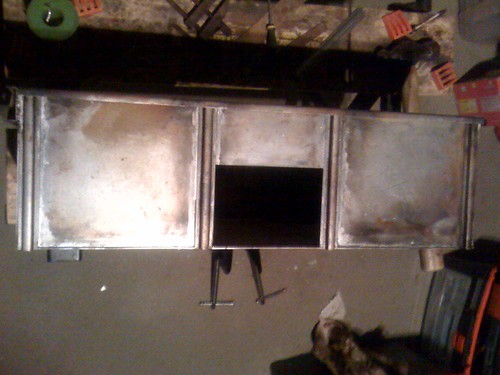
Most intrigued by the top flap above the door. What was its purpose?